Tuesday, March 18, 2014

Facebook Links, Group, Events

Please also join me on Facebook! I have a page related to this blog as well as a group that will often have events, raffles and fun things like that. 


Facebook (name and link):

 Sparked Ideas

https://www.facebook.com/sparked.ideas 


Facebook group (name and link):

Cookie Decorating Group!

https://www.facebook.com/groups/cookiedecorating/


Current Group Event (name and link):

Easter Cookie Event  (part of the "Cookie Decorating Group!")

https://www.facebook.com/events/1417803288475374/?ref=4&source=1


Please note that the current Event is called "Easter Cookie Event". I'm sending a call out to participants and will be giving away a couple of small gifts (see image below).  These are neat because they're so realistic.


Saturday, March 1, 2014

Rainbow Cookies!


I'm re-posting these rainbow cookies because I wasn't completely satisfied with how they looked yesterday. They didn't seem to be quite finished but I couldn't figure out why. I decided to try adding a white outline on top of the original one. This made a huge difference. The design looks cleaner now and the white outline frames the colors and makes them pop out more. So, it was worth it to take that last step!


 A few days ago I set up a new Facebook group called "Cookie Decorating Group!". To start things off, I suggested to members that we have a Saint Patrick's Day theme. So, for this event, I decided to make these rainbow cookies. Here's the link to the "Cookie Decorating Group!" https://www.facebook.com/groups/cookiedecorating/ Please join me and my fellow enthusiasts! I'm hoping that our group will keep growing and that it'll eventually be filled with wonderful creative cookie creations.

Here are the steps in a nutshell:
1) Baked some simple sugar cookies (one dozen). 
2) Made a white outline of the design with royal icing. 
3) Filled in the empty areas with the colors. 
4) Outlined the rainbow and cloud again with white icing. 


Used a pastry bag, a no. 2 tip, and a thicker consistency of royal icing to make this outline.


Now make 5 lines for the rainbow.


For flooding the shapes, use a pastry bag with the tip cut off (just a little). For this step, use the thinner consistency royal icing.


Suggestion: Before adding colors, I tested my colors on small portions of icing until I got the colors that I liked. Then start mixing the larger portions.


These are the colors that I used:

Red and green - Regular McCormick Assorted food colors. The next time I would use red icing color though. I had to add a lot of drops of red which threw off the consistency.

Blue - McCormick Neon food color. This is brighter than the regular McCormick blue. For the light blue, add color to icing carefully and gradually with a toothpick so it doesn't get too dark too fast.

Purple - Icing Color "Violet" or Wilton Gel Food Color "Purple". Add color to icing carefully with a toothpick because it's very concentrated.

Yellow - Icing Color "Lemon Yellow". This is a light fresh yellow that doesn't have too much orange in it.


Use a toothpick to fill in the tighter corners. Tip: To get rid of bubbles, just move the toothpick across it. Poking tends to just move the bubble around.


I started using a no. 3 tip, with a coupler, to fill in the rest of the colors. It was easier to get into the corners.


Adding the final outline on top really helped to make the lines cleaner and the colors pop.


Almost finished...


DONE!


Monday, February 24, 2014

Chocolate Salon!

This Chocolate Salon event is coming up on March 15, 2014. It's going to take place in San Francisco - http://www.meetup.com/chocolate-69/events/155256912/

 We arrived at Fort Mason Center and discovered these two food trucks parked at the entrance. It was still early so there was a short line. However, at lunch time, the lines were much longer. 


A sign at the entrance. 


Neat interior architecture which was unexpectedly modern. 


There were many tables such as this one where chocolate businesses were promoting their products. Most of them were giving out samples! I didn't take photos of the tables that represented wine and fragrance businesses but there were several at the event as well.

What I liked the most were the chocolate sculptures and other items that were on display near the entrance. I was actually expecting to see a lot more things like this. 


Add caption


The next time I go to one of these Chocolate Salons, I'd like to listen to some of the presentations. This time, the nice weather was luring us outside though. 


When it was time to leave, we headed out of the building to enjoy the beautiful day and the perfect view of the San Francisco Bay along with the Golden Gate Bridge in the distance. What a perfect way to top off the afternoon.

SI

3/27/14

Saturday, December 21, 2013

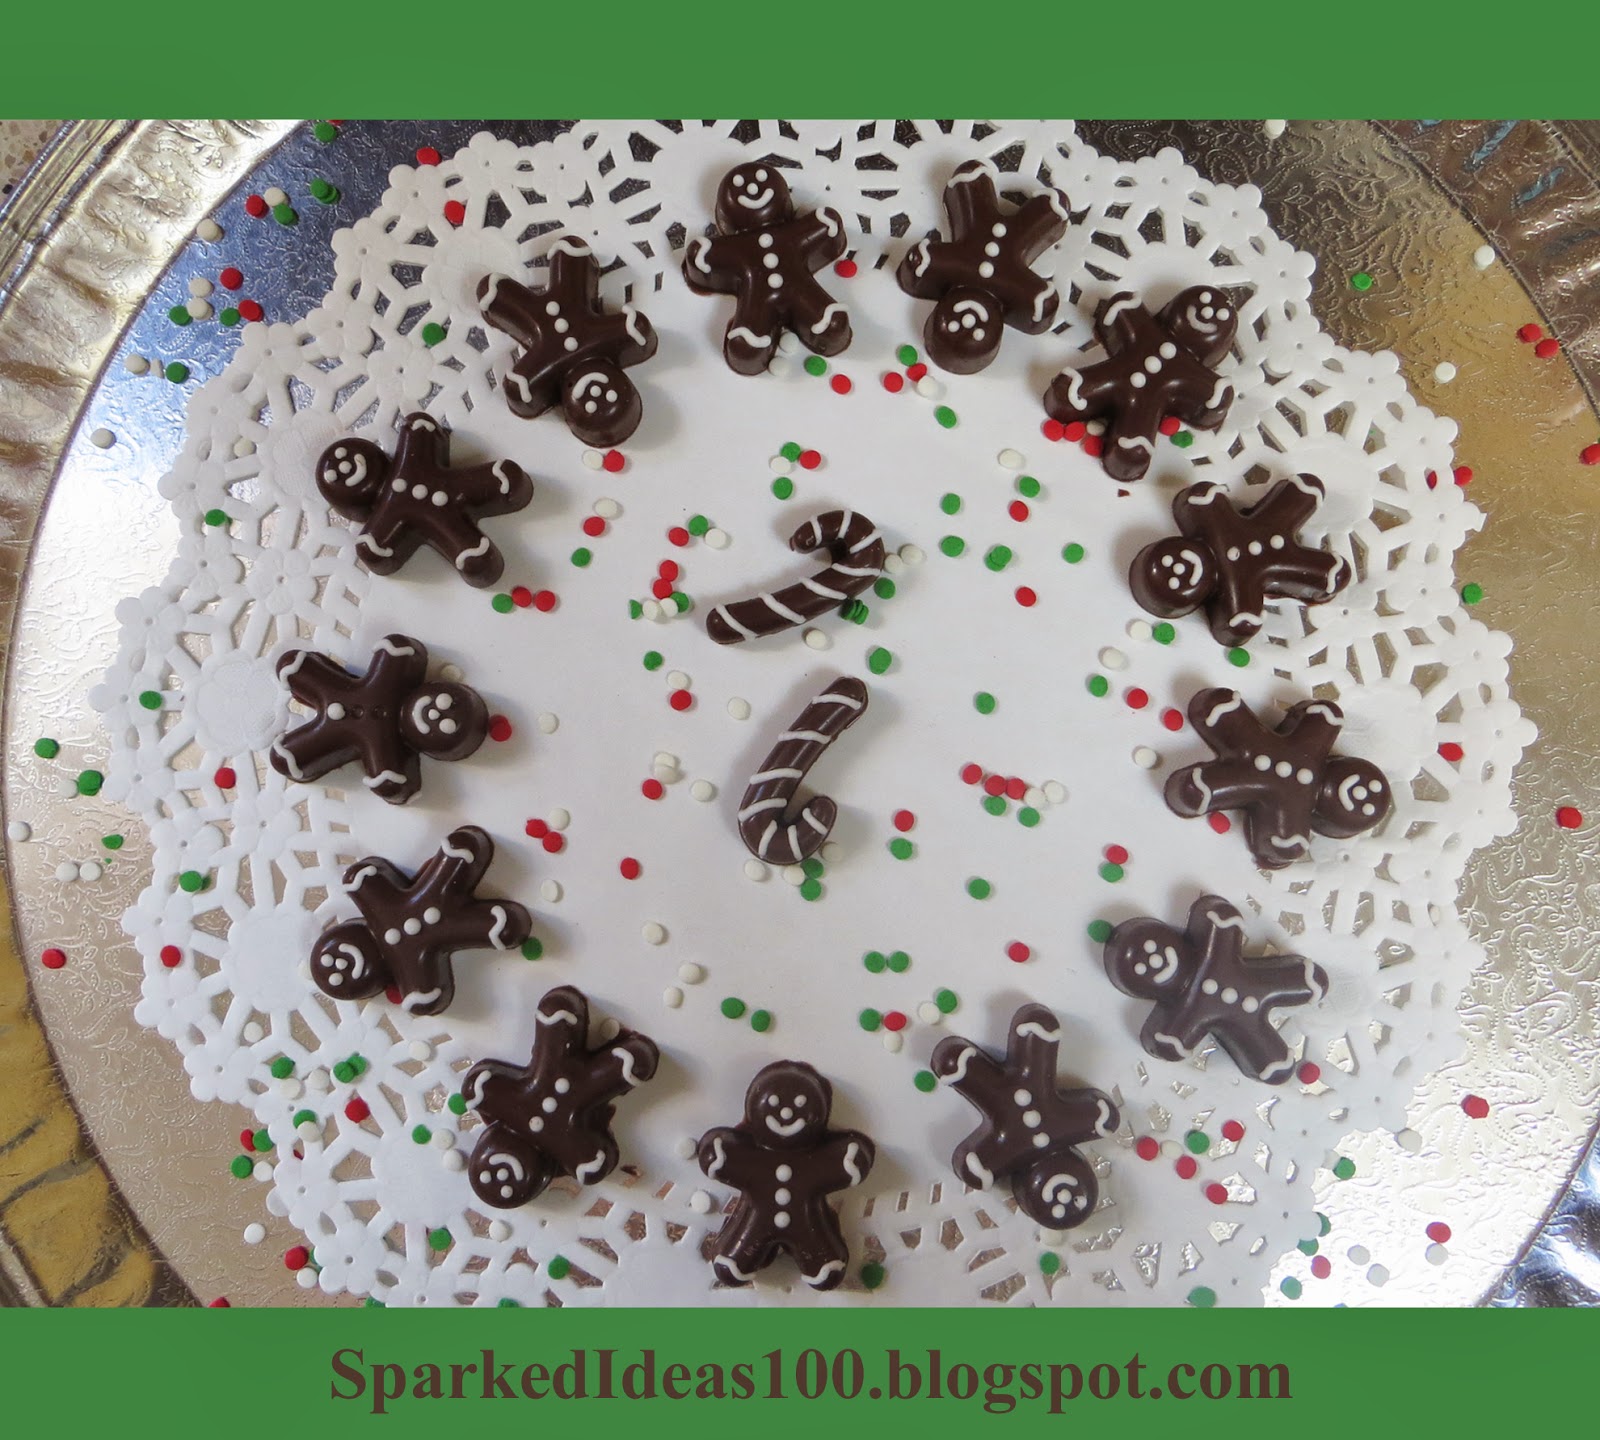
Chocolate Gingerbread Men and Candy Canes


I tried out a new silicon mold and was able to easily make these small chocolate goodies. I used semi-sweet baking chocolate cubes but Guittard Milk Chocolate Chips and Nestle Milk Chocolate Morsels work great too. More info and images will follow soon.

Fast forward to March 24th, 2014. I was invited to a late Christmas party last weekend and decided to make these chocolate gingerbread men. This time I gave them mouths and white noses. The red sprinkle noses kind of make them look like clowns so I think they look better this way:


Yes, it was strange to take part at a Christmas party in March : )

Monday, September 30, 2013

Rice Crispy Tweets

I made these pops with Rice Krispies Treats® instead of cake. They're fun and easy to make.